View and Data API Sample in Swift and Mac OS Upgrade
As you know, we have a pretty impressive number of samples demonstrating the use of the View and Data API web services.
We are currently reviewing them all to ensure their documentation is reliable and consistent.
I picked Adam Nagy's workflow sample written in Swift to review.
That required a look at the Swift programming language itself and a system upgrade before I could start with the review itself.
Before getting to that, let me also mention the upcoming 3D Web Festival, and then wrap up with yet another update of The Building Coder samples:
- 3D Web Festival
- Swift
- Upgrading OS X, Xcode and Parallels
- Swift Command Line
- Swift Shell Scripting
- View and Data API workflow in Swift
- Started eliminating automatic transaction mode
3D Web Festival
Are you a creative human being interested in 3D on the web?
Then the 3D Web Festival may be just your thing.
It will showcase 3D web sites presenting mixtures of music, art and technology, bringing together the best of the 3D Web – presented as Live Performance Art – amazing, delightful, surprising and at times disturbing, including creations by artists and developers of all kinds live with musical accompaniment.
Time and place is Wednesday May 13th from 7 to 10 pm at the Folsom Street Foundry in San Francisco, with ticket proceeds going to the Roxie, a community-based, non-profit theatre.
Swift
The Swift programming language was created by Apple for iOS and OS X development.
It uses the same underlying machinery as Objective C with a much simpler syntax.
Python is one of the languages that helped inspire Swift, and Swift also provides a REPL or read-eval-print loop, even though it is a compiled language.
Working with Swift code requires the development environment Xcode 6.1, which in turn requires OS X 10.9.4 or higher, nicknamed Mavericks.
Up until this morning, I was still on 10.8.5, aka Mountain Lion, so it was clear that some serious computer system updating would be required for me to be able t make use of it.
Upgrading OS X, Xcode and Parallels
Well, I took the plunge and upgraded straight from 10.8.5 to 10.10.2 Yosemite, since that was the suggestion made by the Apple AppStore.
The next step was upgrading Xcode from my previous version of 5.5.1 to 6.1.1.
That was harder, and I initially failed, until I read the recommendation to simply uninstall the previous version and then reinstall from scratch. Even then it was not as simple as it sounded, though. It took me several attempts before I really had eliminated the previous installation and the reinstallation truly installed the new version instead of just automatically updating the old one.
As far as I can tell so far, all my other applications work fine after the update, except Parallels Desktop, which I use to run Windows application like Revit and Visual Studio on a virtual machine within the Mac OS.
The version of Parallels 8 that I was using before the upgrade did not work at all. Upgrading that to the newest version of 8 enabled me to start up and use the virtual Windows machines again.
I was unable to access my virtual Windows drives from the Mac environment, though.
The Windows drives can be mounted in the Mac file system, enabling access to Windows files from the Mac command line and applications.
For instance, I have all my Revit add-ins on the C:\ drive and use git on the Mac terminal command line to clone them down from GitHub and push them and their changes back up again. It would be really painful have to have to move them on a Mac drive, because some loading and debugging does not work unless they are on a local Windows drive.
Happily, simply upgrading to Parallels 10 finally resolved that issue as well, and the Windows drive C:\ now appears in Mac OS as /Volumes/C, just like it always did:
  /Volumes/ $ ls -o
  drwxrwxrwx  1 jta   16384 Feb 18 21:04 C
  lrwxr-xr-x  1 root      1 Feb 19 07:34 jtharddisk -> /
I seem to be back to normal again, all systems go, and I can run Swift.
Swift Command Line
Once Xcode 6.1.1 is installed, the Swift command line is accessible:
  $ xcrun swift
  Welcome to Swift!  Type :help for assistance.
    1> :help

    . . .

    1> var x = 1
  x: Int = 1
    2> x+x
  $R0: Int = 2
    3>
As it so kindly tells you, you can type :help for help, and :quit or Ctrl-D to get out of the Swift read-eval-print loop again.
On OS X Yosemite and Xcode 6.1 or later, as in my case, you can run Swift by just typing swift in the command line.
Swift Shell Scripting
You can create a Swift shell script and use the shebang to run it as a program directly like this:
  $ cat hello.sh
  #!/usr/bin/env xcrun swift
  println("hello world")

  $ chmod +x hello.sh
  $ ./hello.sh
  hello world
Alternatively, you can pass a Swift script file as an argument to the swift command line like this for the same effect:
  $ cat hello.sw
  println("hello world")

  $ swift hello.sw
  hello world
Nice tutorials to get started are provided on Santosh Rajan's Swift programming site, e.g., 1. Learn Swift by running Scripts.
A couple of other cool examples are provided by Blake Merryman's Swift scripts.
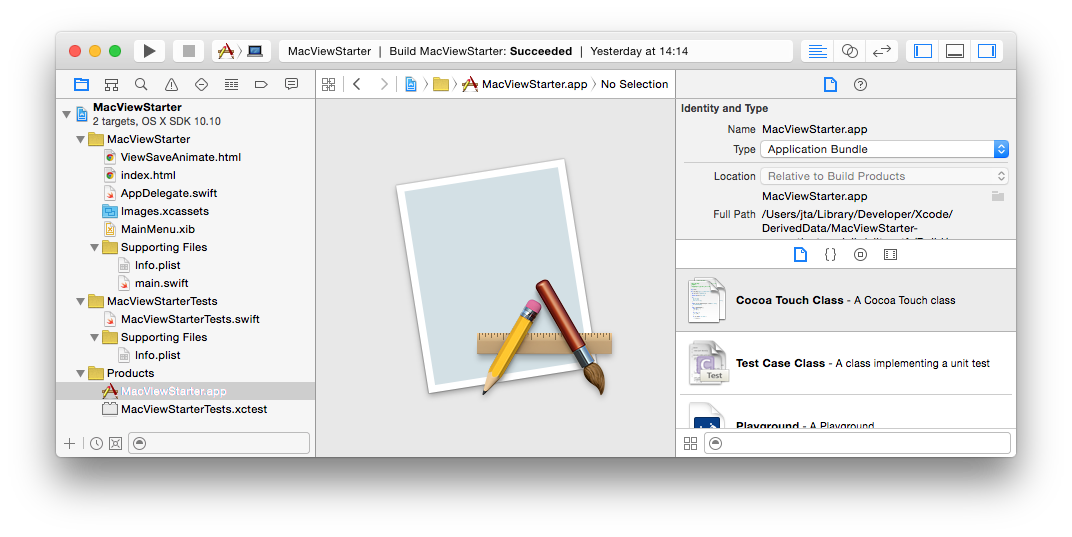
View and Data API Workflow in Swift
Adam's View and Data API workflow sample is by no means a simple Swift script, though, but a full-blown Xcode IDE application:
Running the app in the Xcode debugger displays the main screen:
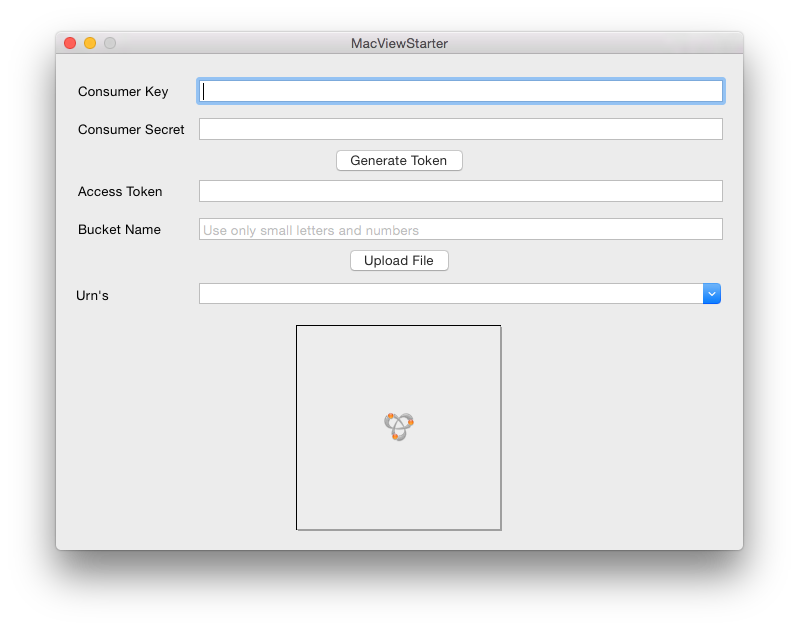
All you have to do is enter your Autodesk View and Data API credentials, obtained from the Autodesk Web Services API web page, request an access token, enter a valid bucket name and select a file to upload.
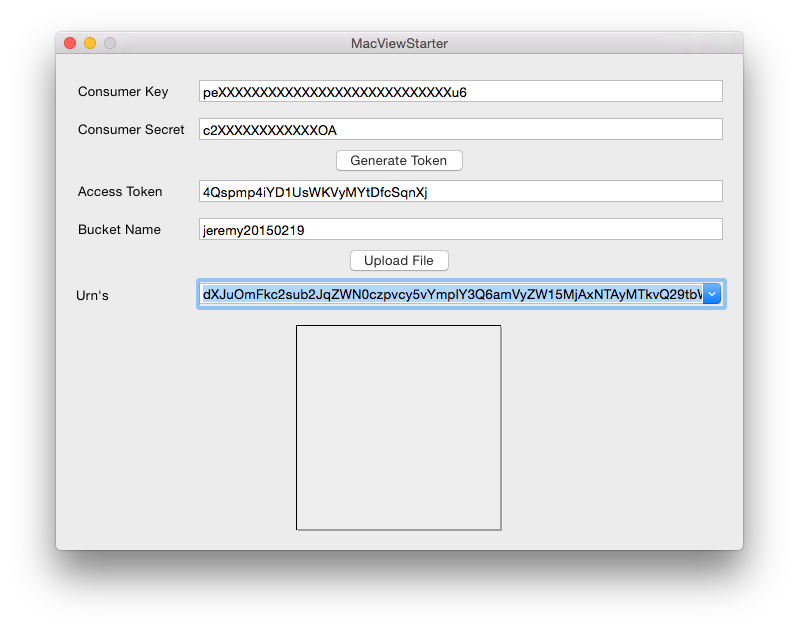
That adds the resulting model identifier – aka URN or uniform resource name – to the URN drop-down list:
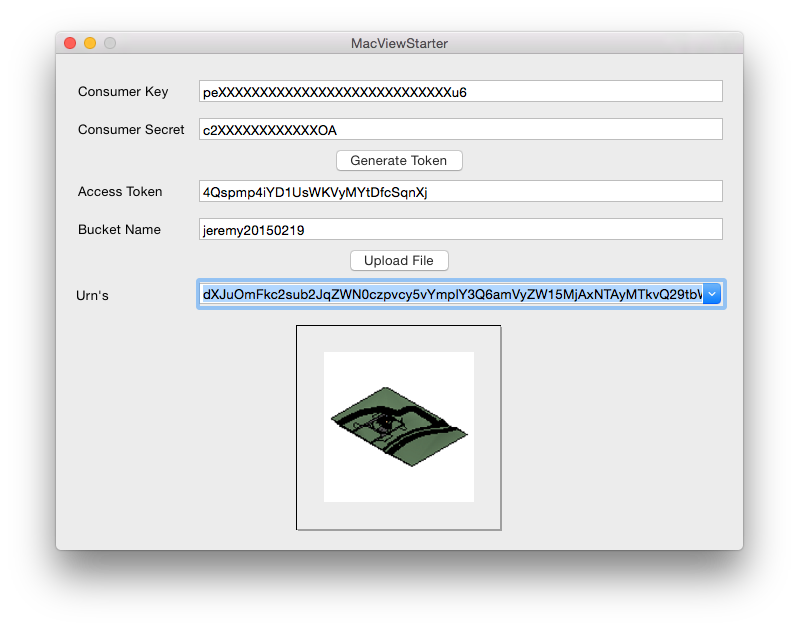
The image box at the bottom displays the model thumbnail preview once translation is complete, which may take a while for a large model:
To make further use of the translated model, please refer to the numerous other View and Data API samples on GitHub.
Look at the View and Data API sample overview to decide where to go next from here.
Started Eliminating Automatic Transaction Mode
Let's wrap up with yet another update to The Building Coder samples.
I now started removing the use of the old automatic transaction mode.
It is probably best never to use it at all nowadays, and go for either Manual or ReadOnly mode, depending on whether you need to update the model or not.
The first occurence that I happened upon is in the age-old CmdInstallLocation command, so I updated that from Revit 2010 to 2015 and replaced TransactionMode.Automatic by ReadOnly in it.
Please note that that command is probably not needed at all nowadays, since other methods are available to determine the Revit installatin location, e.g., using the perpetual GUID algorithm.
Anyway, the updated command is included in release 2015.0.117.4 with more to follow.