Export Geometry and Snoop Stable Representation
Александр Пекшев aka Modis @Pekshev submitted a very succinct and useful pull request for RevitLookup that I integrated right away, and provides many other valuable inputs as well:
- Snoop stable representation of References
- Project point on plane correction
- Revit export geometry to AutoCAD via XML
Snoop Stable Representation of References
Alexander's raised
the issue #40 and subsequently
submitted pull request #41 to
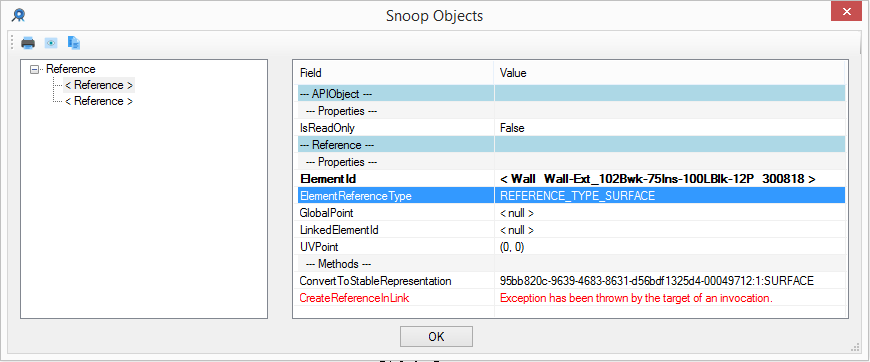
display the result of the ConvertToStableRepresentation method when snooping Reference objects.
I integrated his improvements in RevitLookup release 2018.0.0.7.
Here is the result of snooping a reference from a dimension between two walls:

Many thanks to Alexander for his efficient enhancement!
Take a look at the diff from the previous version to see how elegantly this was achieved.
Project Point on Plane Correction
Alexander also raised some other interesting issues in in the past in comments on
the wall graph,
point in polygon algorithm,
wall elevation profile and,
most recently and significantly,
on projecting
a point
onto a plane,
uncovering an error in The Building Coder samples ProjectOnto method that projects a given 3D XYZ point onto a plane.
I originally presented this method in the discussion on planes, projections and picking points: projecting a 3D point onto a plane.
Swapping the sign seems to have fixed it, as proved by Alexander's ProjectPointOnPlanetest sample add-in:
/// <summary>
/// Project given 3D XYZ point onto plane.
/// </summary>
public static XYZ ProjectOnto(
  this Plane plane,
  XYZ p )
{
  double d = plane.SignedDistanceTo( p );

  //XYZ q = p + d * plane.Normal; // wrong according to Ruslan Hanza and Alexander Pekshev in their comments 1202_plane_proj_pick.htm#comment-3765750464
  XYZ q = p - d * plane.Normal;

  Debug.Assert(
    Util.IsZero( plane.SignedDistanceTo( q ) ),
    "expected point on plane to have zero distance to plane" );

  return q;
}
Revit Export Geometry to AutoCAD via XML
Browsing Alexander's other GitHub repositories, one that particularly caught my eye is his RevitExportGeometryToAutocad add-in, documented in Russian.
I read the Google-translated English description and think this sounds as if it might be very useful to others as well:
RevitExportGeometryToAutocad
Auxiliary libraries for rendering geometry from Revit to AutoCAD in the form of simple objects (a segment, an arc, a point) by exporting to XML.
Description
Libraries are useful in the development of plug-ins related to geometry, for convenient visual perception of the results. In my opinion, viewing the result in AutoCAD is much more convenient.
This project provides two libraries (one for Revit, the second for AutoCAD) and a demo project for Revit.
Versions
The project for AutoCAD is built using libraries from AutoCAD 2013. It will work with all subsequent versions of AutoCAD.
The Revit project is built using Revit 2015 libraries. It should work with subsequent versions as well (tested for 2015-2018).
Using
The solution also contains a demo project for Revit. Description of use for the example of this project:
In Revit
Connect to the project a link to the RevitGeometryExporter.dll library.
Before using export methods, you need to specify the folder to export xml
  // setup export folder
  ExportGeometryToXml.FolderName = @ "C:\Temp";
By default, the library has the path C:\Temp\RevitExportXml. In the absence of a directory, it will be created.
Call one or more methods for exporting geometry, for example:
  List<Wall> wallsToExport = new List<Wall>();
  foreach( Reference reference in selectionResult )
  {
    Wall wall = (Wall) doc.GetElement( reference );
    wallsToExport.Add( wall );
  }
  ExportGeometryToXml.ExportWallsByFaces( wallsToExport, "walls" );
Or
  List<FamilyInstance> familyInstances = new List<FamilyInstance>();
  foreach( Reference reference in selectionResult )
  {
    Element el = doc.GetElement( reference );
    if( el is FamilyInstance familyInstance)
    familyInstances.Add( familyInstance );
  }
  ExportGeometryToXml.ExportFamilyInstancesByFaces( familyInstances, "families", false );
In AutoCAD
Use the NETLOAD command to load the CadDrawGeometry.dll library.
Use one of the two available commands:
- DrawFromOneXml – Draw geometry from one specified XML file
- DrawXmlFromFolder – Draw the geometry from the specified folder in which the XML files reside
Example
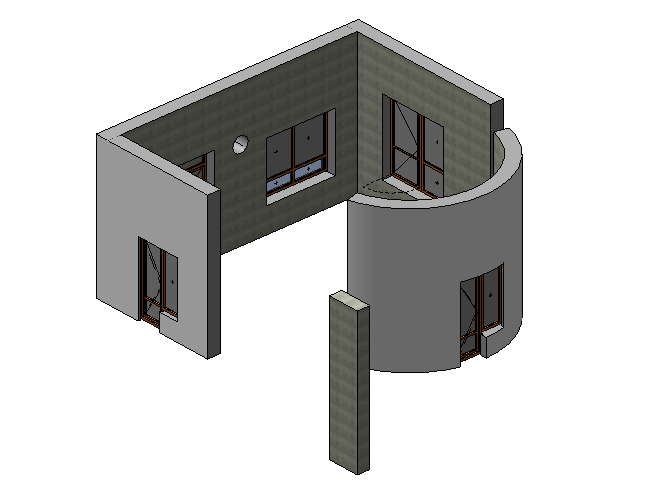
Elements in Revit:

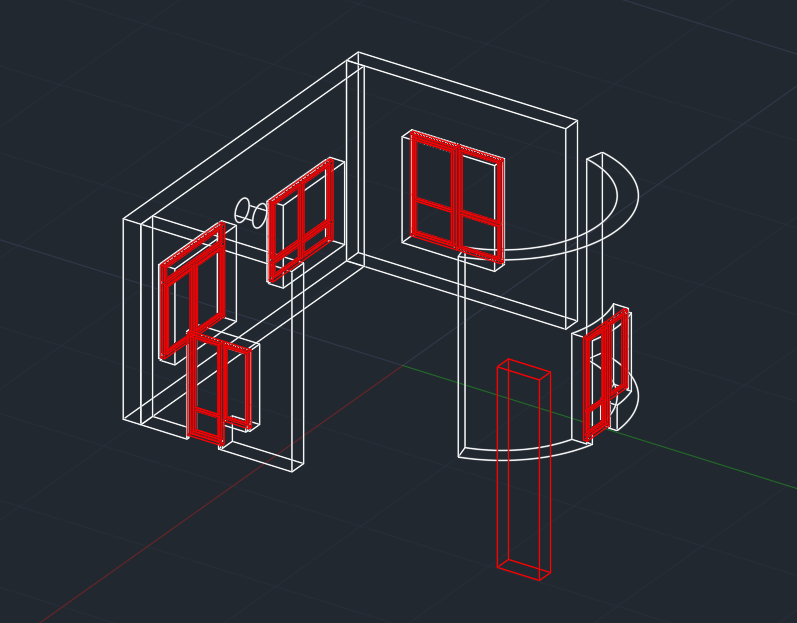
The result of exporting and rendering geometry in AutoCAD:

Many thanks again to Alexander for sharing this!